Cody White
Member
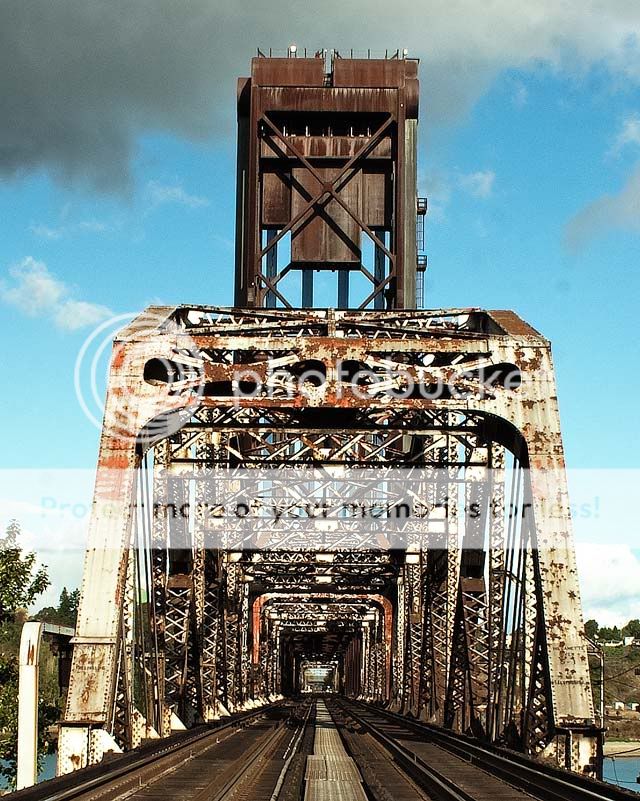
Shot this one today,
Any thoughts on how to improve this?

Railroad Bridge By Cody White
Any thoughts on how to improve this?
Railroad Bridge By Cody White

Shot this one today,
Any thoughts on how to improve this?
Railroad Bridge By Cody White
I think I got 99% of the dust bunnies taken care of.I love bridge pictures and this is unusual. The rails seem to be in use but the bridge has been allowed to rust. I thought they had to be painted every year! That could give a few guys a nice job.
The spots, BTw, are a little bit of a distraction.
Asher
P.S. You could easily fix the dust spots on your sensor. I guess you were using an f stop of about 16 or so to be able to see them. I hardly every use my lenses closed down. Doubtless I have the same dust bunnies on my sensors. I only clean once a year!
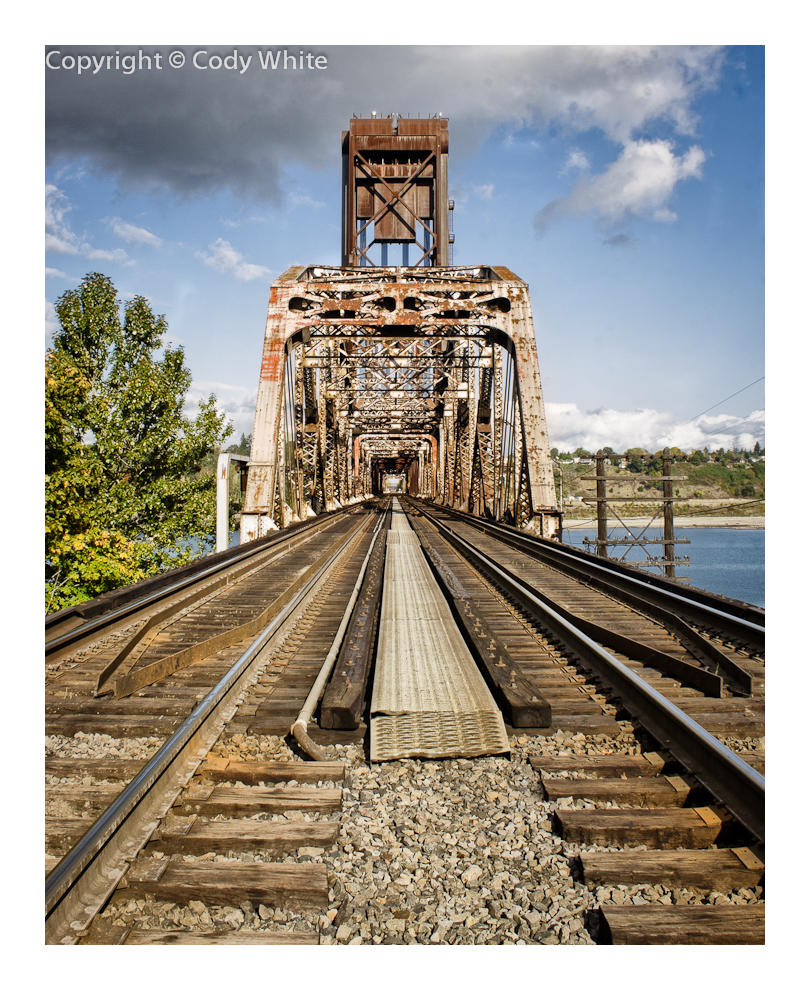
If you feel like playing with it, I have it here:I think that the image would be improved by cropping the middle. Here you have two subjects: the tracks and the bridge and I find the bridge more interesting.
I think that the image would be improved by cropping the middle. Here you have two subjects: the tracks and the bridge and I find the bridge more interesting.

Thanks.Doug, this was taken in Portland, Oregon
I didn't even know Google Maps would do that! Shows how much attention I pay to these things. (I do it on Google Earth.)Here is the bridge from Google maps.
I had a go at it and came up with this version.Shot this one today,
Any thoughts on how to improve this?
Railroad Bridge By Cody White
Hi, Cody,
Thanks.
I didn't even know Google Maps would do that! Shows how much attention I pay to these things. (I do it on Google Earth.)
Thanks.
Best regards,
Doug
Cem,Hi Cody,
I had a go at it and came up with this version.
Railroad Bridge By Cody White - edit by CU
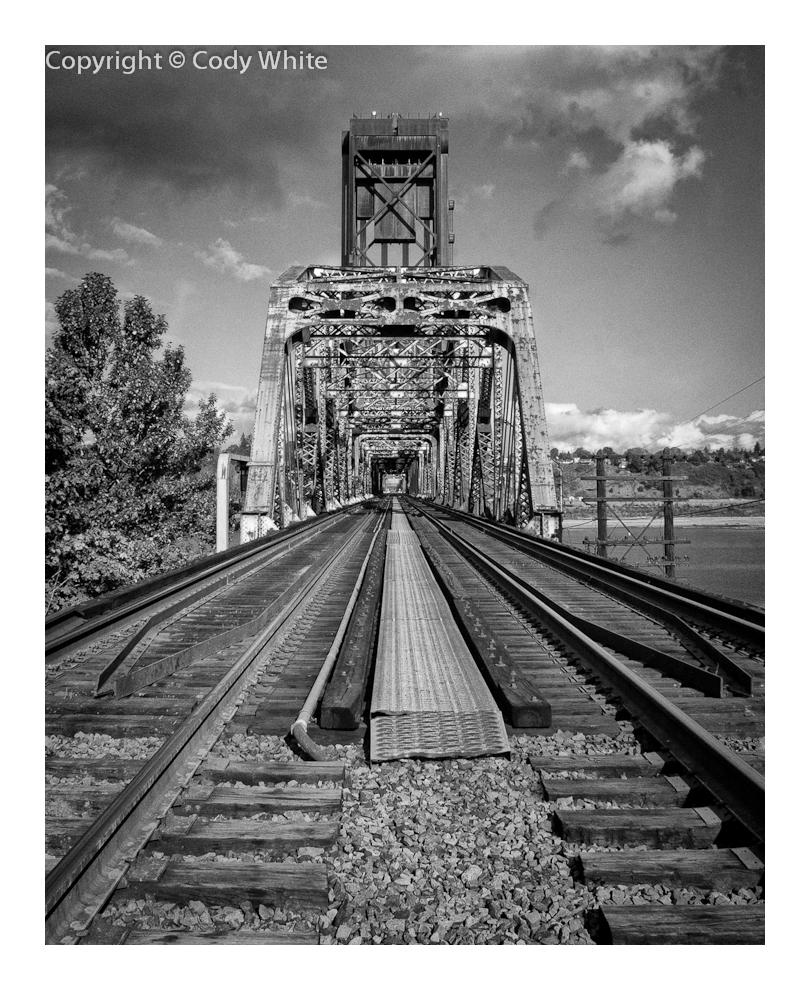
And in BW:
Railroad Bridge By Cody White - edit by CU
Bob,If I had been there, I probably would have shot from the left track. I don't know if it would make a better or worse photo, but that's probably what I would have done. And probably a bit lower and a bit closer.
I like photographing bridges too.


Link for quote:Video – Camera Profiles for Lightroom
By Matt Kloskowski // Lightroom Videos
This one has been causing quite a bit of buzz. When Adobe released Lightroom 2 (and the accompanying 4.5 update to Camera Raw) they released these camera profiles on the Adobe Labs website. In a nutshell, these profiles match the camera manufacturers color appearance of your photos. So if you’ve ever opened your photo in Nikon’s or Canon’s software and been happier with the way it looked there vs. Lightroom, then you’ll love these things