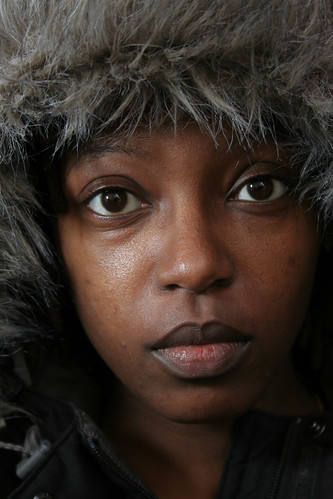
This is a personal view, but I think the amount of processing I see on many portrait images, instead of making the subject look younger, makes them look dead. Just what is wrong with nature? What is in folk that wants them to look plastic, wax work, lifeless?
Well Ray,
We are not going to cross swords, but let me tell you my perspective. There's skin; babies skin, a whore's skin, a virgin's skin, acne skin, aged skin leather, the weathered leathery skin of saliors, gardeners, the homeless, Irish poets and highwaymen. As artists we can document them exactly as they are or as we romanticise their conditon.
But, apart from that, pictures of women to be seen by women are different! In fact so different that billions of dollars can be earned catering to this. This is good to understand if one chooses to feed from this.
So what are women after?
When women look at the pictures of models in magazines, they want something more dreamy than they get when they look in the mirror. Their wish is to escape to fantasyland. They are willing to spend their money to wonder how they might look if they had the money or spent the money on the make up, hair style couture etc! This is a woman's escape from ordinary truths of their mundane office or cooking routines to a perfect pampered dreamworld for just $5.00 a copy of a magazine.
Now we could have a separate accurate book with zits, moles, pimples, lines, rolls of flesh, narrow eyes and hair on the lips and even make actions to increase then so the iomages are even more "natural" and then it would be bought by you and I and 7 others. The advertizing for warm socks and alka seltzer and hemorrhoid cream might make it a good buisiness if we just give the magazines away to old age homes. They can't focus anyway to well anyway.They'll think it's Vogue!
There should be some trading standards to be applied, false descriptions, etc. ;-)
Well, Ray, in one famous Hong Kong landmark case, a buisness man challenged his beautiful model socialite "trophy" wife with infidelity since the snub-nosed new born couldn't have been sired by him, it was far to ugly.
Well, a detective cracked the case. She had had nose, lipe and eye surgery, breast implant and more. He's marries a fraud. So he sued for breach of contract and fraud and won!
He didn't ask for custody of the child!
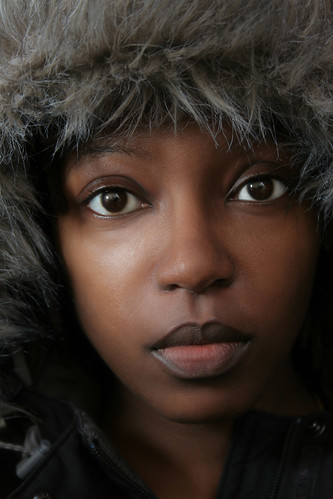
Yes, that is fraud but smoothing over skin a little for a client is no different than one having a nice shirt to cover your hairy chest and perhaps a few moles! A picture is only a representation, a container for memories and fantasies, not a cold mirror.
Asher


") .
.