Will Thompson
Registrant*
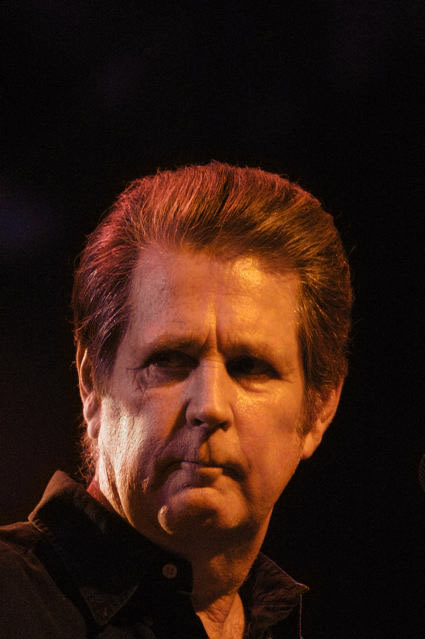
Can you make My Brian Wilson photo not look blue/violet?
So far the fastest fix I have found for this kind of multi color stage lighting is to convert to B&W.
I am hoping some of our OPF retouching geniuses have or can come up with a semi quick fix for this some what common problem.
Thanks in advance to all who tackle this problem.

So far the fastest fix I have found for this kind of multi color stage lighting is to convert to B&W.
I am hoping some of our OPF retouching geniuses have or can come up with a semi quick fix for this some what common problem.
Thanks in advance to all who tackle this problem.
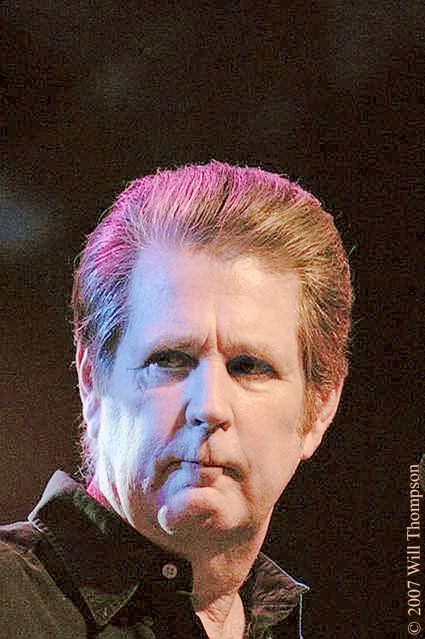


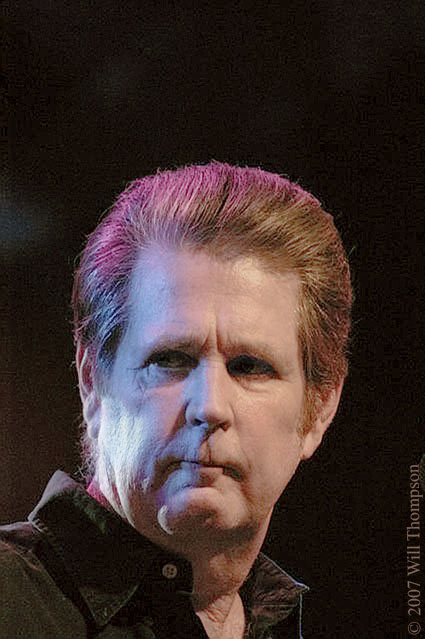
") - besides of the little blue spots . .
- besides of the little blue spots . .