• Please use real names.

    Greetings to all who have registered to OPF and those guests taking a look around. Please use real names. Registrations with fictitious names will not be processed. REAL NAMES ONLY will be processed

    Firstname Lastname

    Register

    We are a courteous and supportive community. No need to hide behind an alia. If you have a genuine need for privacy/secrecy then let me know!
  • Welcome to the new site. Here's a thread about the update where you can post your feedback, ask questions or spot those nasty bugs!

Going boldy where I have never gone before (re. a drastic change to my lens lineup)

Cem_Usakligil

Well-known member
Welcome to the club, Cem!

I'm sure you will enjoy it, and it will open for you some new possibilties.

As far as QC, when I bought my copy last year, the Canon reps told me that they had gotten some bad copies from Japan as well.
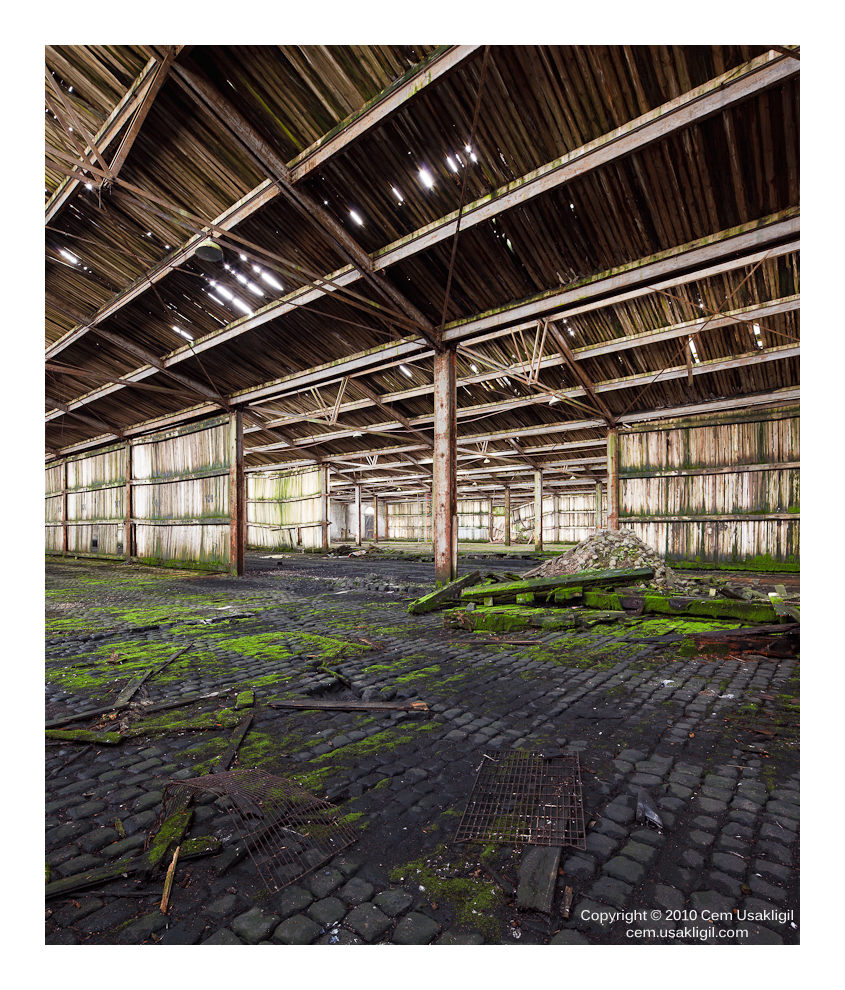
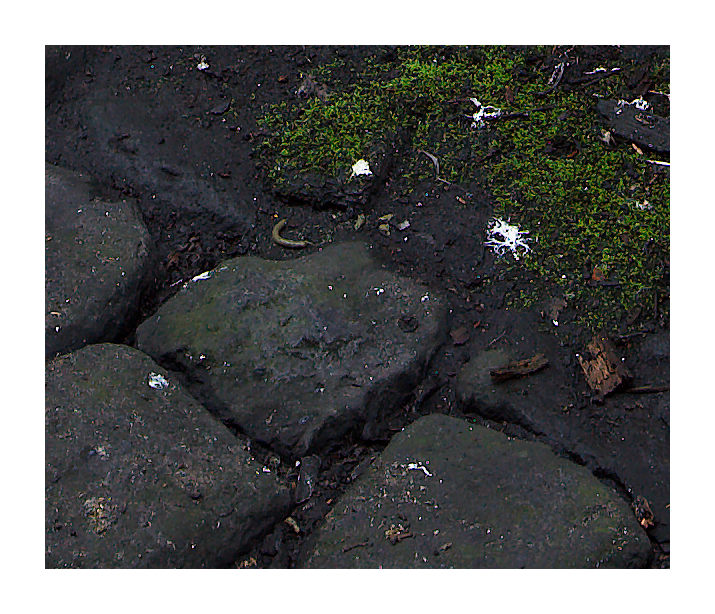
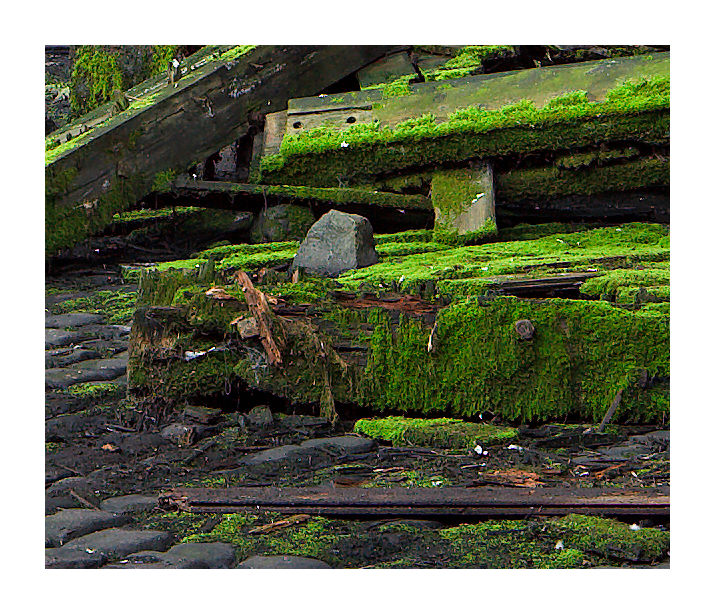
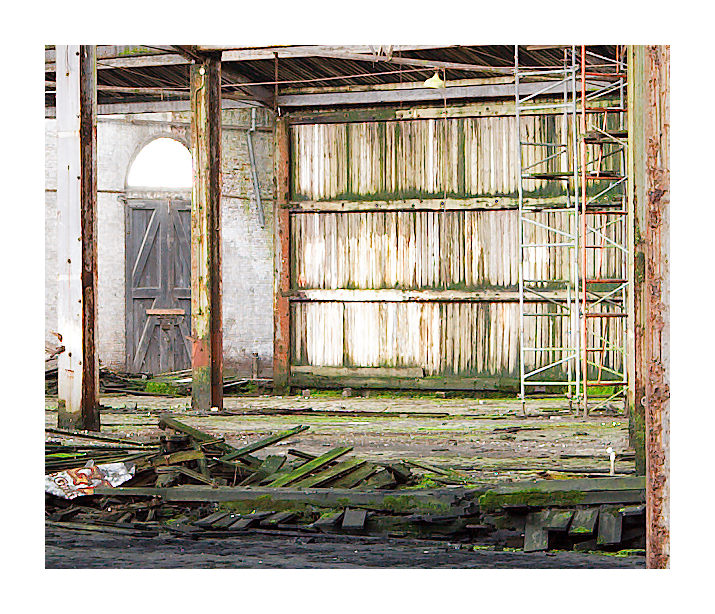
Hi Michael, thanks! I was quite surprised about the wavy lines created by my 1st copy and I hope that it is not caused by a structural QA/QC problem.

Michael, Bart and Cem,

What glass focus screens are you using in your viewfinder for manual focus or are you using the live view? Do you choose one from Canon, the Ec-B, or perhaps a split screen from Brightscreen? I need all the help I can get!

Asher
Hi Asher,

I have started using the super-precision focusing screen EG-S on my 5D Mk II already before buying the TS-E. It really improves one's focusing results (AF or MF) because one can set the selective focus manually on any part of the image without having to shift AF points or recomposing. For focusing with the live view, I have ordered the Hoodman Hoodloupe3 last week, which should be delivered soon. Especially for focusing in the field when there is a lot of ambient light falling on the LCD, it is essential to use a tool like the Hoodloupe.

Hi Asher

I' ve got the horizontal splitscreen (from Canon) on the 1 Ds-2, Im not sure if your 5 D needs a different one...

works perfect with my manual focusing Zeiss, - out of the ole 4/5' days, I' m used to define the DOF mentally, in the viewer's image.

With the TSE-24, I focus alwith in unshiftet position, after having confirmed by Bart on his 1 Ds-2, that this is the better way with that lens. It has some curvature of field!

If I want a shallow DOF - therefore a high precision in focusing is required - I add a loup at the viewer - the 1 Ds-2 hasn't lieve view yet.

Last easter friday I had a shooting - about 8 GBs of RAW and all focus was dead on, with my manual focusing primes and the TSE 24 with its semi-auitomatic focusing.
Indeed. I am glad that my 5D Mk II has live view, it makes using the T/S lenses much easier.

Cheers,
 
Michael, Bart and Cem,

What glass focus screens are you using in your viewfinder for manual focus or are you using the live view? Do you choose one from Canon, the Ec-B, or perhaps a split screen from Brightscreen? I need all the help I can get!

Hi Asher,

I use the EC-s Focusing screen from Canon on my 1Ds3, but check for other codes for other camera models. This is a high precision focus screen specifically useful on lenses with a wide aperture (f/2.8 or wider). Nevertheless, I don't switch it when use it with the f/3.5 TS-E. Yes, the viewfinder gets a bit darker, although it's a large bright viewfinder to begin with, but it's very sharp. One just needs a bit of light to be able and reliably focus with it. For unshifted focusing, one can also use the focus confirmation and the lens can be AF microadjusted even though it's a manual focus lens. I even get useful focus confirmation when using tilt, but it may be less accurate so one needs to check on the specific camera used. One can also use a focusing screen with a grid on it, but that only helps when shooting a symmetrical object exactly from the front or a subject with real vertical lines.

However, eventhough it's a wide angle lens, the focus plane is still reasonably narrow (assuming one needs large output). So I recommend to use Live View whenever possible, in particular when tilt is involved. This becomes very important even with flat facades of buildings, but whether that's due to field curvature or mis-alignment remains to be seen. Due to the wide angle of view, even a small non-parallel alignment between sensor and plane of focus will amount in a significant mismatch of the focal plane at the edges. Michael uses a 1Ds2 without the benefit of Live View, so it's near impossible to detect that on site (unless one shoots tethered).

A simple test for curvature of field is to shoot a high detail surface at a very shallow angle at f/3.5. Although at that aperture one loses some edge sharpness, one still can determine if the plane of best focus is a straight line or a curved one. Try focusing across the center and near the edges to get an idea of what's happening.

When introducing tilt, all bets are off, and one really benefits from Live View. It can sometimes take a bit of searching to align the plane of focus with the most important features in the image, but the bokeh is very smooth and unintrusive so the transition between focus and defocus can be subtle. There are tables that one can use to get an approximate required angle, but nothing beats Live View:

Click on the image to go to the website


Cheers,
Bart
 

Michael Fontana

pro member
Bart

I need to add that I really use rarely the tilt mechanism (could live whithout) - for archi, shift is the applied movement. Flatstitching works incredible well whithout the rail (due to low lens distotion) and is a easy way of adding a bit of image at a side, if yoy need a slightly larger angle.(expl: a bit more of sky at the top of the roof)

Obviously, controling focus on shift is much easier than on tilt.

Hi Michael,

Yes, the shorter the focal length, the more important the shift is. The 24mm f/3.5 II is a special lens in many ways, e.g. it also works wonders with short focus distances, which is where one can benefit from the creative possibilities of controlling the focal plane with tilt. But as you say, for many architectural subjects the shift is more important.

I'm sure that Cem will find ways to exploit the creative capabilities for many different subjects.

Cheers,
Bart
 

Asher Kelman

OPF Owner/Editor-in-Chief
Thanks

Cem, Michael and Bart for sharing your experience in focussing with the 24 mm TSE II. I need to test for alignment and then curvature. My 5DII has to go to Canon CPS for a stuck contact pin, but my 5D has a split screen from Brightscreen but no live view. I will start testing. Thanks.

Asher
 

Cem_Usakligil

Well-known member
1st ever shoot with the TS-E 24mm II

Hi,

Bart and I have gone to shoot in Antwerpen today, for me it was the virgin shoot with the new toy, err lens. After spending a whole week reading about the tilting, shifting, Scheimpflug, etc, it was time to put the theory to test. While walking around the harbor area we have come across a derelict warehouse, which has provided the ideal setting for my test shoot. I haven't had the chance yet to process all the results, but things are certainly looking good. The lens is very sharp and it is a joy being able to decide where to put the focus on. Here is a preliminary test for your perusal. It is taken with the TS-E 24mm II on the 5D Mk II, camera at landscape orientation, 3 frames (-10mm, 0mm and +10mm vertical shift), 3 exposure brackets for each frame, exposure blended in SNS-HDR and frames stitched in CS4. End resolution around 5600x6500 pixels.


f21608.jpg


Cheers,


Mike Shimwell

New member
Hi Cem

As you say, it's looking promising - I think the ability to shift to stitch will be a joy for you. Also, your and bart's work with SNS-HDR is looking very promising - it's a less overblown rendition than I am used to seeing from other products. I will download the test pack at some time.

Did you use only shift here, and achieve depth of field by stopping down, or is part of the image less sharp in the full size version?

MIke
 

Ruben Alfu

New member
Hi Cem, great location to test both, TS and HDR. The result is clearly impressive, the technical execution impecable, as usual in your photos (however, and sorry cause I know this is out of the scope of this thread, I think the light is too flat, I´d love to see more shadows, more mistery).

I was wondering, are you pursuing making this type of photos (stitched HDRs) a dominant part of your work in the future?
 

Asher Kelman

OPF Owner/Editor-in-Chief
f21608.jpg


Cem this is a great downpayment on the pleasure you are going to give yourself and us, for sure. But how will you not also rotate the optical center to go left and right too? It must be tempting, especially f you are setup with Really Right Stuff Pano head etc.!

So far, with the 3 images and 3 exposures, how long does it take in processing? What's the order? You have to go from RAW, merge the layers and stitch but is it merge layers first or stitch first? Did you happen to do a smple stitch of the three normal exposures. I'd love to see what that looks like with a nice tone curve from yester-year, when there was no new HDR software.

Asher
 

Cem_Usakligil

Well-known member
...Did you use only shift here, and achieve depth of field by stopping down, or is part of the image less sharp in the full size version?
Hi Mike,

This was shift but also tilt (around 0.7-0.8 degrees) to get the focal plane run parallel to the ground, from under the camera tilll the horizon. The picture was taken @ f11 . The DOF was extending as a wedge form; quite shallow at the camera position, to a level above the roof at the far end. In effect, almost everything is in focus. Perhaps I should post some 100% crop areas to show the focal details later.

Hi Cem, great location to test both, TS and HDR. The result is clearly impressive, the technical execution impecable, as usual in your photos (however, and sorry cause I know this is out of the scope of this thread, I think the light is too flat, I´d love to see more shadows, more mistery).

I was wondering, are you pursuing making this type of photos (stitched HDRs) a dominant part of your work in the future?
Hi Ruben,

I agree about the shadows, but I have processed this picture to show the technical possibilities of the lens at the moment. Later I can create another, more artistic copy. This picture is not entirely HDR per se, as I have used only -1,0+1 exposures and the most of the picture could have been developed from a single raw file. But the tone mapping/exposure blending has brought out the structure in the walls quite nicely, adding some 3D to the picture. Since I will be mostly shooting slowly using a tripod with this lens, I would assume that I would use exposure bracketing quite often, just to make sure that I don't have overblown highlights or noisy shadows. But I don't want this to become my "signature" to be honest :).

...Cem this is a great downpayment on the pleasure you are going to give yourself and us, for sure. But how will you not also rotate the optical center to go left and right too? It must be tempting, especially f you are setup with Really Right Stuff Pano head etc.!

So far, with the 3 images and 3 exposures, how long does it take in processing? What's the order? You have to go from RAW, merge the layers and stitch but is it merge layers first or stitch first? Did you happen to do a smple stitch of the three normal exposures. I'd love to see what that looks like with a nice tone curve from yester-year, when there was no new HDR software.
Hi Asher,

I did not receive the RRS pano gear yet. So this was done by simply shifting in the vertical dimension. I have also done one picture with a shift in both dimensions, but then the fov is quite huge and your subject should demand it. I don't think that I'll use shifting both vertically and horizontally too often, especially since rotating through the no-parallax point and stitching in PTAssembler might deliver better and faster results according to Bart. I will have to find my mode of operation along the way.

The processing sequence is:
1) Tone map individual tiles first.
2) Stitch and blend in CS4 using the "recompose" option.

I will make a better 1 exposure (no HDR) stitch and post for comparison later.

Cheers,
 

Asher Kelman

OPF Owner/Editor-in-Chief
Hi Asher,

The processing sequence is:
1) Tone map individual tiles first.
2) Stitch and blend in CS4 using the "recompose" option.

I will make a better 1 exposure (no HDR) stitch and post for comparison later.

Thanks for sharing! I am following your work with interest and great pleasure!

Asher
 
Also, your and bart's work with SNS-HDR is looking very promising - it's a less overblown rendition than I am used to seeing from other products. I will download the test pack at some time.

Hi Mike,

I've added a simple comparison to the thread about SNS-HDR (shot was taken at the same location as Cem's example above). I hope that demonstrates that one has a lot of control on how the result is going to look. And exactly what one does is all a matter of subject/atmosphere (and of taste). Most important is that we have choices, and we can produce quite different looking images if we wish.

Cheers,
Bart
 

Cem_Usakligil

Well-known member
...I will make a better 1 exposure (no HDR) stitch and post for comparison later.
Hi Asher,

As promised, here is a stitch based on a tiles converted from single raw file files (ie NO HDR). As you can see, it it quite usable in this case as the highlights are rather well controlled. But the added value of the HDR version is in bringing out the texture and the 3D feeling in the walls, etc. PS: The color balance difference was intentional, I have done the LDR conversion using another color balance than the HDR ones.


HDR version, stitched from 3x bracketed tiles:

f21608.jpg


LDR version, stitched from single exposure tiles

f21608_ldr.jpg


Cheers,


Asher Kelman

OPF Owner/Editor-in-Chief
Cem,

The difference is quite remarkable. I wonder whether the SNS software has a mathematical awareness algorithm of 3D space and therefore uses all the tracks n the book, (contrast, micro-contrast, some sharpening and so forth as well as tonalities to build and simulate the 3D effect in a 2D space.

Or s this just a matter of tone?

Asher
 

Cem_Usakligil

Well-known member
...This was shift but also tilt (around 0.7-0.8 degrees) to get the focal plane run parallel to the ground, from under the camera tilll the horizon. The picture was taken @ f11 . The DOF was extending as a wedge form; quite shallow at the camera position, to a level above the roof at the far end. In effect, almost everything is in focus. Perhaps I should post some 100% crop areas to show the focal details later.
Hi Mike,

As promised, some 100% crops from the front, middle, far end and ceiling (from the single exposure version, not the HDR version). We are looking at the image pixels at their actual size (1:1) @ 96 dpi (typical monitor resolution). The total image has some 5600 x6600 pixels so when viewed at this size, it would be 56"x66" (142cm x 167cm) large. Also, please don't mind the seemingly over sharpening as we are pixel peeping here ;-).


f21608_crop_1-4.jpg


f21608_crop_1-6.jpg


f21608_crop_1-8.jpg


f21608_crop_1-10.jpg


Cheers,
 

Cem_Usakligil

Well-known member
....I have also done one picture with a shift in both dimensions, but then the fov is quite huge and your subject should demand it.
Hi Asher,

Just to complete the cycle of information, here is the stitch made by shifting the lens in all directions (left, middle right, top, bottom, right-bottom, right-top, left-bottom, left-top; 9 tiles).

PS: Now we just have wait for CS5 to fill in the missing corners, lol ;-)


f21588.jpg


Cheers,

 
The difference is quite remarkable. I wonder whether the SNS software has a mathematical awareness algorithm of 3D space and therefore uses all the tracks n the book, (contrast, micro-contrast, some sharpening and so forth as well as tonalities to build and simulate the 3D effect in a 2D space.

Or s this just a matter of tone?

Hi Asher,

It's both, although the 3rd dimension is approached at different resolution levels, all the tricks in the book regarding local and global contrast equalization while trying to avoid tone reversals near high contrast edges, highlight protection, shadow recovery, muting of color saturation in the shadows, micro-contrast enhancement, you name it. It doesn't apply sharpening as such, but the microdetail can give that impression. Tone and White Balance is adjustable, so it's all part of the equation.

Cheers,
Bart
 

Asher Kelman

OPF Owner/Editor-in-Chief
Hi Asher,

It's both, although the 3rd dimension is approached at different resolution levels, all the tricks in the book regarding local and global contrast equalization while trying to avoid tone reversals near high contrast edges, highlight protection, shadow recovery, muting of color saturation in the shadows, micro-contrast enhancement, you name it. It doesn't apply sharpening as such, but the microdetail can give that impression. Tone and White Balance is adjustable, so it's all part of the equation.

Cheers,
Bart

Then, Bart, it's obvious to me that what I do painstakingly over many, many, (far to many to admit), hours could be done much faster and likely better with HDR-SNS! The thing I have to do, the one thing that's missing in my current workflow is very accurate placement of my nodal point through which to rotate my lens for near, (5-80 feet) objects. That's where the TS is a no brainer as one is using the same image circle if one shifts the tripod's head in the opposite direction. It's weird that they don't have a tripod mount for this expensive elite 24mm TSE lens!

Cem, are you adjusting the tripod head to counteract parallax issue introduced by a shift?

Asher
 

Cem_Usakligil

Well-known member
...Cem, are you adjusting the tripod head to counteract parallax issue introduced by a shift?
I will do so once my RRS arrives. Among other things, I have ordered two shift stop bars in order to shift the camera body and not the lens position. But so far, I did not run into any issues with parallax I should admit. And even if I did, it is usually easy enough to correct with blending after the stitching. Only when shooting subjects relatively close to the lens, this then becomes a problem. Pivoting around the no-parallax point instead of shifting is according to Bart the better option, especially considering the fact that the shift stop bars are only effective for shifts parallel to the ground and not in vertical shift situations.

Cheers,
 
Then, Bart, it's obvious to me that what I do painstakingly over many, many, (far to many to admit), hours could be done much faster and likely better with HDR-SNS!

Possibly, but it's a tempting thought and it would probably be a better starting point for some fnal tweeks. However, besides having to wait for a Mac version until later this year, SNS is't perfect (yet). There are some things around color management that need to be ironed out, some alignment and anti-ghosting stuff, some productivity improvements, etc., but it's already amazingly functional for those on a Windows platform.

The thing I have to do, the one thing that's missing in my current workflow is very accurate placement of my nodal point through which to rotate my lens for near, (5-80 feet) objects. That's where the TS is a no brainer as one is using the same image circle if one shifts the tripod's head in the opposite direction.

Yes, but once you've determined the no-parallax point, there is no need for a double adjustment (lens and body shift in opposite directions). It's even better for image quality to keep using the optimal part of the image circle, and it requires less stopping down to get the corner/edge resolution closer to the level of the center. Given the substantial vertical FOV coverage when used in portrait orientation (e.g. with some (optional) shift), one often only needs to adjust for horizontal rotation. With the correct no-parallax point setting and rotation through that point, that will be very easy to stitch as well, even with Photoshop's merge capabilities. When one already has a RRS camera plate, then only a few more components are needed to achieve that goal.

It's weird that they don't have a tripod mount for this expensive elite 24mm TSE lens!

Canon probably figured the lens was big and heavy enough so, with all those controls and movements, there's no room for a separate tripod mount ;-) .

Cheers,
Bart
 

Michael Fontana

pro member
.......Canon probably figured the lens was big and heavy enough so, with all those controls and movements, there's no room for a separate tripod mount ;-) .
Cheers, Bart

well, parallelaxe isn't that bad with the 24 TSE, due to low distortions.
You even can stitch the shiftet frames with PTGui - in the paralell-stitch mode.
 
Top