John Harper
New member
Hi there
This is my first post with an image so if it all goes a bit (Pete Tong) wrong i apologise in advance.
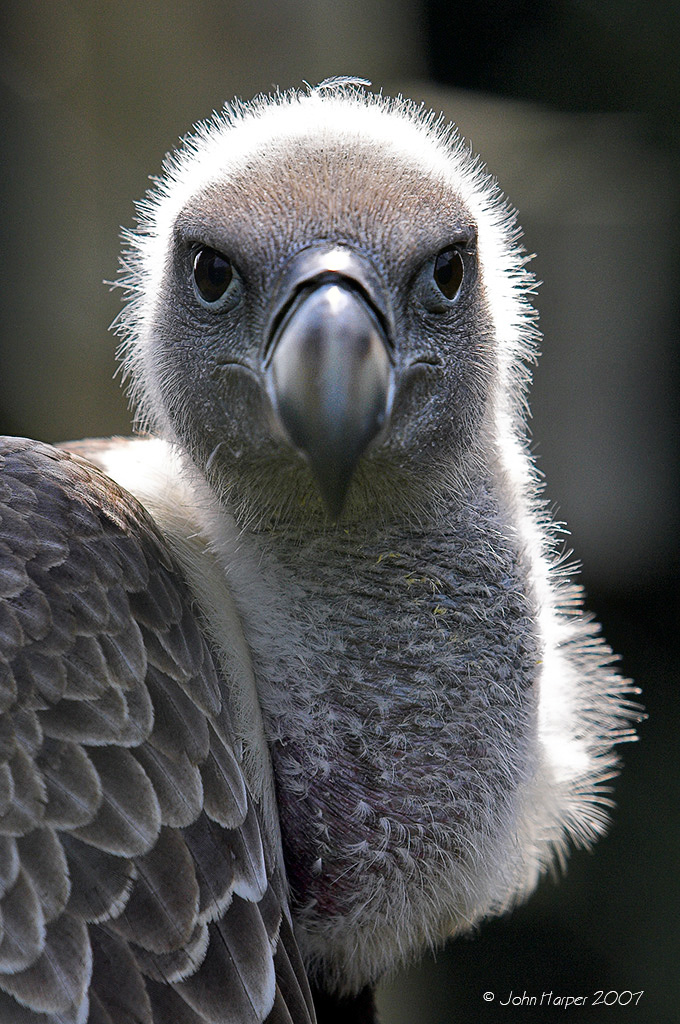
Would value any feedback as to how the shot could be improved.
I was trying for limited depth of field to blur the background, managed to get focus on the eyes, but is the beak too blurred? It was shot through wire so again used a wide aperture to try to blur that as well.
If anyone is up to redo the original RAW file i would be happy to send it over
Regards
John

This is my first post with an image so if it all goes a bit (Pete Tong) wrong i apologise in advance.
Would value any feedback as to how the shot could be improved.
I was trying for limited depth of field to blur the background, managed to get focus on the eyes, but is the beak too blurred? It was shot through wire so again used a wide aperture to try to blur that as well.
If anyone is up to redo the original RAW file i would be happy to send it over
Regards
John
")