• Please use real names.

    Greetings to all who have registered to OPF and those guests taking a look around. Please use real names. Registrations with fictitious names will not be processed. REAL NAMES ONLY will be processed

    Firstname Lastname

    Register

    We are a courteous and supportive community. No need to hide behind an alia. If you have a genuine need for privacy/secrecy then let me know!
  • Welcome to the new site. Here's a thread about the update where you can post your feedback, ask questions or spot those nasty bugs!

TIPS & TRICKS No. 1 - Removing haze

Tim Armes

New member
This thread is part of the Tips & Tricks problematics. See here for more information.

Hi all,

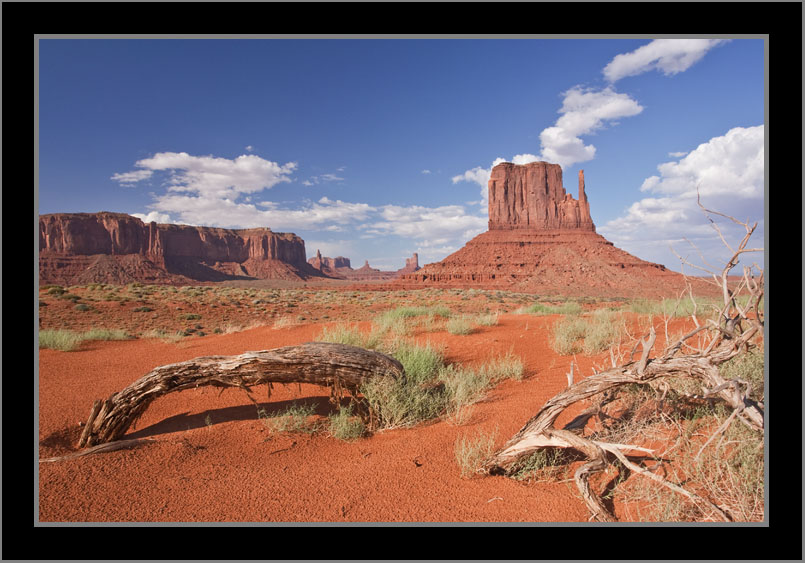
This week's tip concerns the issue of removing haze from images. Landscape photos often suffer from this problem, leaving the photographer disappointed that the photo doesn't look they way he or she remembers it. I've chosen this as the first Tips & Tricks theme for a few reasons:

  • It's a common problem.
  • It can be resolved in a many ways, some of which are more simple, some of which are very advanced.
  • Each image responds best to a particular technique, so having a range of techniques available is useful, and that's what these thread are all about.

If you have any techniques to share then please tell us about them. You get extra Brownie points for using an example photograph to demonstrate your point.

Tim
 
My preference is to minimize the effects of haze from the get-go and a polarizer does the trick for me; the drawback is you must force compositions such that you are "somewhat" either north or south looking for the polarizer to have an effect. IMO the shot below of the Grand Canyon is a worst case "haze" situation; distances to the far side are anywhere from five to eight miles. I've settled on the polarizer approach because haze is actually part of the scene and should be "sort of" but not completely preserved and the polarizer gives me what I want for an end result, YMMV.
original.jpg


Below is a second example using a polarizer, again a worst case situation because the distances are huge but I've composed the shot looking north to take maximum advantage of the polarizer. BTW, this shot was taken at the Anticline Overlook south of Moab, Utah. Can you see the anticline, if not I have failed at my job of capturing the scene?
original.jpg


A second approach, which I've used but don't care for, is low frequency sharpening (set USM for a strength of 20 to 30 and the radius anywhere from 20 to 40 pixels); a caution if you use this approach, be sure the shadows of your initial rendering (i.e. prior to applying this approach) do not get too close to the black point of your final picture (because the approach lowers the black-level of shadows considerably). I do have one or two examples of the "USM workaround" in my landscapes gallery ( http://www.pbase.com/jkurkjia/scenery ) but don't recall which shots have had this approach applied; as indicated earlier, I prefer to avoid the low frequency sharpening approach because the final answer doesn't look very "real" to me. I'm probably doing a lousy job of applying the technique.

Another approach to control haze (what I call the the "lucky if you can" trick) is to shoot right after a rain storm. An example of "post rain haze reduction" is a shot taken at Monument Valley, Arizona; normally the haze at this location usually comprises a bit sand kicked around by the wind (which can be fierce). In fact, this location is normally so sandy you can hardly get your lens hood off at the end of the day (assuming you are using a Canon lens hood, I don't know about the others).
original.jpg


Regards,

Joe Kurkjian
 

Tim Armes

New member
Hi Joe,

Thanks for getting this thread started. The effect of the polarizer on the haze is astonishing, thanks for the tip. Obviously getting the image right in camera is the best solution for most problems.

Low frequency sharpening is a good tool in any retouchers arsenal. I'd love to head any from any other contributors on other retouching techniques that you use to reduce haze in Post Processing.

Tim
 

Tim Armes

New member
A technique that I often use myself was perfected by Dan Margulis. The theory behind the method is quite involved, it is easy to follow and produces excellent results. For this to work the image must be:

  • Fairly desaturated. If there are any saturated colours then this technique won't work
  • Correctly white balanced
Here's an image with a veil of haze:

TT1-withhaze.jpg

We perform the following steps:

  1. Convert the image to LAB (Image > Mode > LAB Color)
  2. Create a new curves adjustment layer
  3. Sleeply sharpen the 'a' and 'b' curve by the same amount. Both curves should continue to pass through the center point
  4. Reduce the opacity of the curves layer to suit taste
  5. Convert back to RGB
Here's the curves that I will apply:

TT1-curves.jpg

And this is the result of the procedure:

TT1-withouthaze.jpg

This is the very simplest way to use the technique that Dan describes. I highly recommend reading his book The Canyon Conundrum and Other Adventures in the Most Powerful Colorspace to better understand how the technique works, and to learn how to apply more sophisticated techniques that are based on the same theory.
 
Top